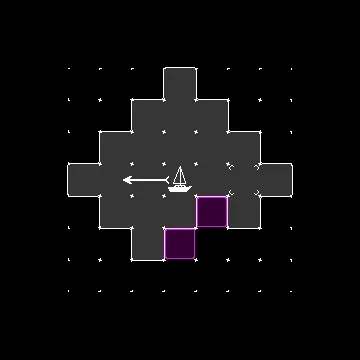
So… making gifs
To make a moving image, we first need an old-fashioned static image. Fortunately for us, Godot allows us to save screenshots pretty easily. After following this tutorial from Gwizz, you should be able to take standard screenshots with the press of a button.
#gif_controller.gd

extends Node

var camera
var ssCount = 1
var gif_recording = false
var gifFramerate = 30 #fps
var record_region = Rect2i(0,0,320,320)

func _ready() -> void:
	camera = Camera2D.new()
	add_child(camera)
	camera.anchor_mode = Camera2D.ANCHOR_MODE_FIXED_TOP_LEFT

	var dir = DirAccess.open("user://")
	dir.make_dir("screenshots")
	dir = DirAccess.open("user://screenshots")
	for i in dir.get_files():
		ssCount += 1

func _input(event) -> void:
	if event.is_action_pressed("screenshot"):
		screenshot()
	if event.is_action_pressed("gif"):
		print("toggle_gif()")
		toggle_gif()
	if event.is_action_pressed("reset_gif"):
		print("clear folder")
		clear_folder()
I decided to create a component responsible for making GIFs that can be placed into any Godot project.
The user can configure the frame rate and the screen region to be captured.
The gif_controller creates and places a camera in the scene, then creates a screenshots directory and opens it.
The script then listens for designated inputs that allow the user to take a single screenshot, record a GIF, or clear the directory.
#gif_controller.gd (cont.)

func screenshot():
	await RenderingServer.frame_post_draw
	var viewport = get_viewport()
	var img = viewport.get_texture().get_image()
	img.get_region(record_region).\
	save_png("user://screenshots/ss"+str(ssCount)+".png")
	ssCount += 1

func clear_folder():
	var dir = DirAccess.open("user://screenshots")
	for i in dir.get_files():
		dir.remove(i)
	ssCount = 1

func toggle_gif():
	if gif_recording == false:
		gif_recording = true
		record_gif()
	else:
		gif_recording = false

func record_gif():
	if gif_recording:
		print("GIF "+str(ssCount)+" ("+str(1.0/gifFramerate)+")")
		screenshot()
		get_tree()\
		.create_timer(1.0/gifFramerate, false)\
		.connect("timeout", record_gif)
Here are the functions that allow the script to capture a series of screenshots, taking into account the frame rate and the screen region set by the user.
FFmpeg
Now that we have a series of neatly ordered screenshots, we can convert them into a GIF using FFmpeg. But to make a high-quality GIF, we need to first generate a palette.
ffmpeg -i ss%d.png -vf palettegen palette.png
After that, using the command below, we can create a GIF from captured screenshots and generated palette.
ffmpeg -framerate 30 -i ss%d.png -i palette.png \
-filter_complex paletteuse=dither=none output.gif
If something isn’t right, you can reset the folder and try again. Combining the commands allows us to easily select them from the terminal history.
ffmpeg -i ss%d.png -vf palettegen palette.png -y &&
ffmpeg -framerate 30 -i ss%d.png -i palette.png \
-filter_complex paletteuse=dither=none output.gif -y
Bonus tip
Here is the command to add padding to all the screenshots before making a GIF from them.
ffmpeg -i ss%d.png -vf "pad=360:360:(ow-iw)/2:(oh-ih)/2,setsar=1" ss%d_v2.png
